Here's the NHMQG BOM for June 2014
(yes, I know it's July!)
Step 1: Cut Background fabric 14” square (will be cut down to 12 1/2” when all applique is done). Fold background in half 14”x7”, iron, then fold in half 7”x7”, iron, then fold one outside corner to top to make triangle, iron, then tip over and do again with other side, iron. This should leave you with a square with 1/8 triangles ironed as shown below that you will use to line up your Octagons.
Step 2: Layer 2 pieces of Freezer Paper, draw Octagons Templates onto the Freezer paper and cut out the Freezer Paper Templates. (I cut the number of each Octagon needed to make the process quicker—amounts needed are given on each Template.)
You can stack pieces of fabric then iron freezer paper to top leaving space for seam allowance. (I used 6” squares of each fabric stacked so I could cut several of the at once.)
Cut Fabric using the Octagon template made from freezer paper adding with 1/2” seam allowance all the way around using your clear ruler and rotary cutter. Remove Freezer paper.
Step 3: Take one piece of fabric base bottom/back side facing up.
Take freezer paper with shiny side UP and center on fabric. Fold Octagon side #1 onto freezer paper (see template A for order), iron fabric. Turn Octagon to side #2 repeat, then repeat until all 8 sides are ironed down.
I found that I needed a little glue to hold down sides 5 through 8, use sparingly.

Step 4: Leaving freezer paper in, using glue stick, place glue along folded/ironed fabric on back.
Tip your Octagon over and place your first Octagon into the middle of the 14” square using your ironing lines to center it. Iron down.
Tip the fabric over and iron again. At
this point you can continue to place as many of the 19 Octagons onto
the background as you have ready or you can add them one at a time. *** Allow for space as noted between the Octagons. I used my eye for what looked good to me. See picture for details.
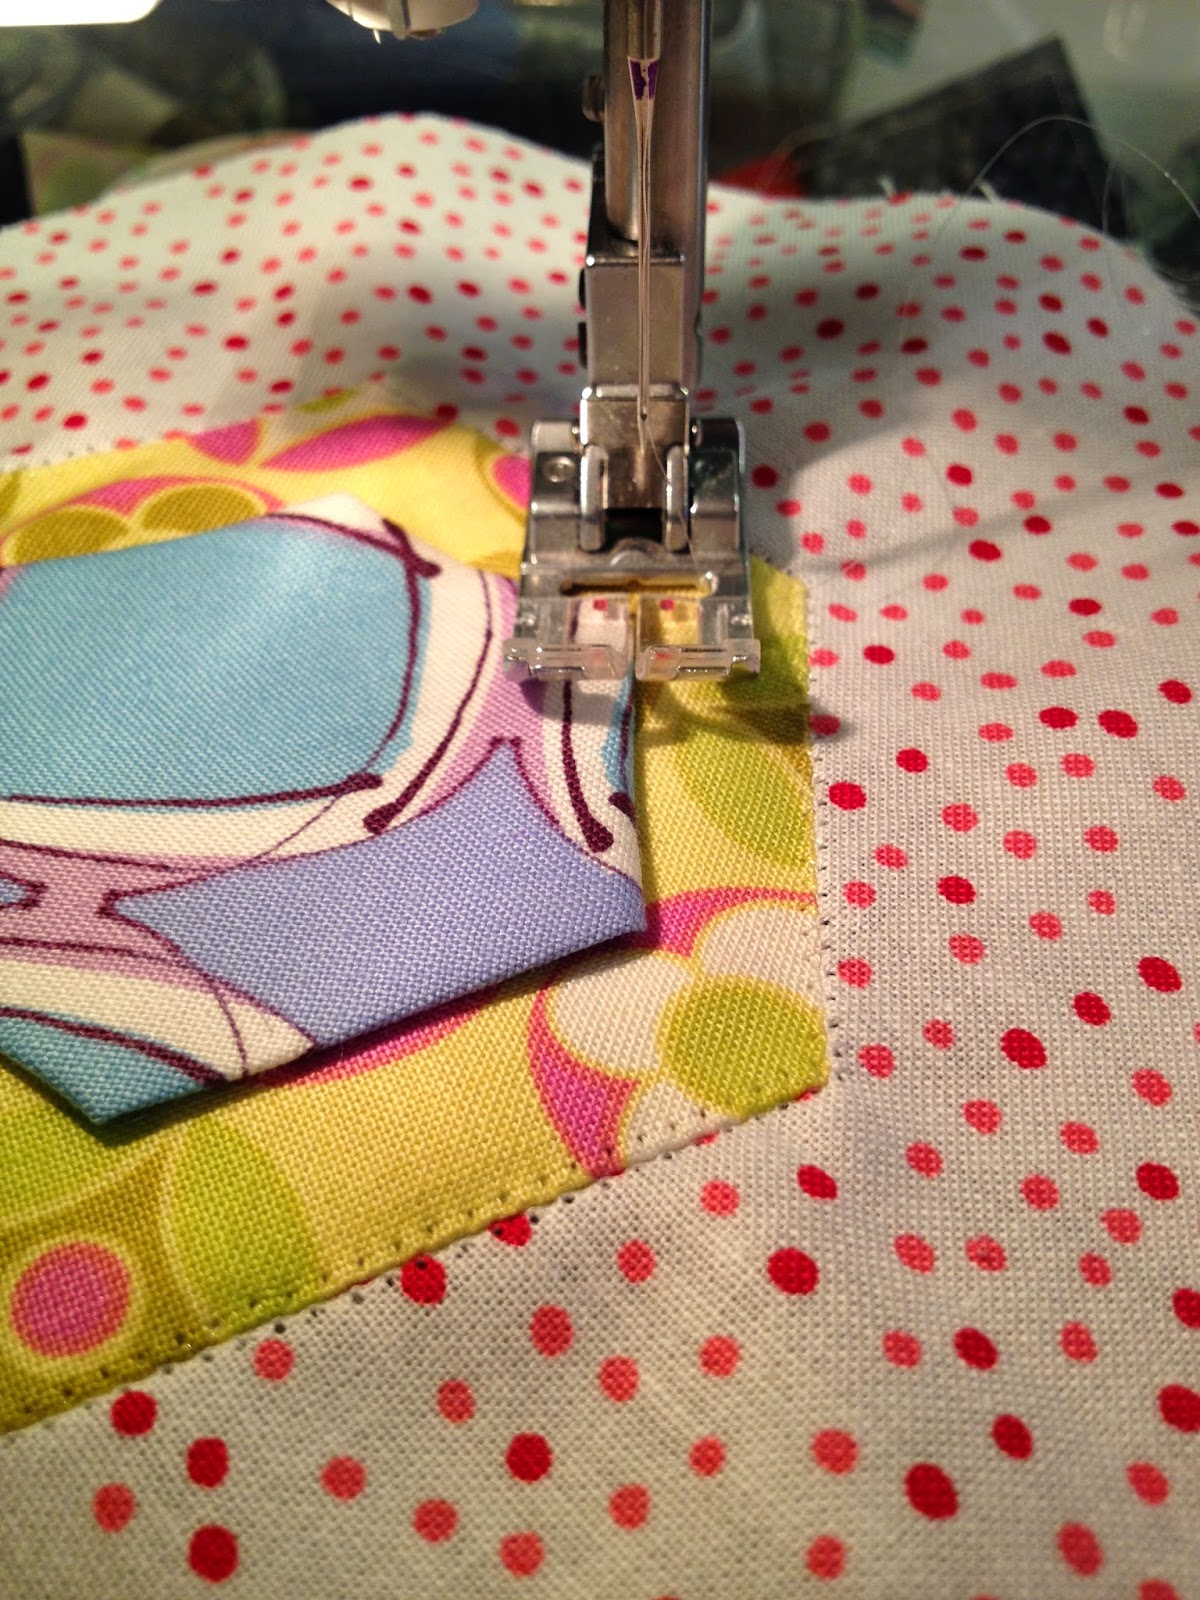
Step 5: Once your Octagon(s) are ironed down you will machine applique the base Octagons onto the background using Mono-poly Thread.
***You will work from the biggest to the smallest Octagons removing the Freezer paper as you go. You should NEVER be sewing into more than one piece of Freezer paper. And NEVER THROUGH THE FREEZER PAPER, only at it's edge.
I use a simple zig-zag stitch set at 1 for width and 2 for length. Using NEEDLE DOWN is helpful as you pivot the corners. I set my foot so that the Left stitch is JUST inside the Octagon then the Right stitch is just outside the Octagon on the background fabric. If you stitch too far in then it will be difficult to remove the freezer paper in the next step. I always backstitch 3 stitches at the beginning and end of sewing each Octagon down to lock the thread.
Step 6: Once you have sewn your first layer Octagons onto the background, tip over the block. Using a seam ripper, make a hole at 1/4”-1/2” from your stitch line. Take a pair of scissors and continue to cut out the small shape of the Octagon from the background fabric. Pull on the sides of the fabric and the freezer paper Octagon will detach from the stitching. Remove the freezer paper. I like to iron the block again before moving to the next step.
(Hexie pics shown - same technique)
Step 7: Tip the block back over and using the same steps place the next smaller size Octagons centered on the larger Octagons. Place, sew down, remove the freezer paper. For the center Octagon which has three layers you will repeat this step again.
Here is my collection of NHMQG - BOM so far
I'm loving this color scheme :)
BOM #4 is Paper Pieced - demo by Susie B!
Check back after our July 8th meeting for more details and the pattern!